
An Album within SongwritersdB is simply a collection of your songs, i.e., similar to a Playlist on other platforms. For example, you may wish to put all your Christmas songs in an Album called “Christmas,” all your favorite country songs in an album “Country Faves,” or create an album of songs you’ve co-written with your friend, Albert, called “Albert Co-writes.” (Note that you can include a song in more than one Album.)
To create an Album and add songs to it, follow these steps:
- Click “Albums” in the left menu on the Home page.
- Click “Create Album” in the upper right corner of the page.
- Type the name you are giving the Album and a brief description, if you want. (The current year will be entered automatically.)
- Click “Save.”
- You will now see the new Album listed on the left side of the Albums page.
- To add songs to this Album, click “Tag Songs to This Album” in the middle of the right side of the page. This takes you to the Songs page.
- Click the first icon (“Show Selection Mode”):
 at the top of the page.
 - You will then see all your songs with greyed-out checkmarks, like this:
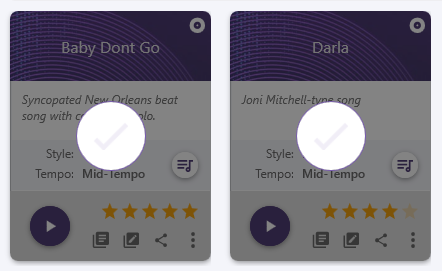
- Find any number of songs you wish to include in your Album and click the checkmark, which will turn solid.
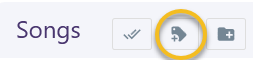
- When you have selected all the songs you wish to add to your new Album, click the second icon at the top (“Tag or Untag Albums”):
- A window will open called “Tag Albums,” which is where you assign your selected songs to your new Album (or any previously created Albums, as well). Note that a song can be assigned to more than one Album.
- When done assigning the songs to one or more Albums, click OK.
- Back on the Home page, click “Albums” in the left menu to see your Albums on the left, and the tagged songs on the right. Click an Album name to see the associated songs on the right side.
- To remove a song from an Album, click the icon with the small “x” next to the song you wish to remove, e.g.,

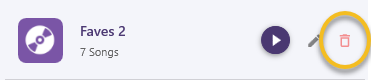
- To delete an entire Album, click the trashcan next to the Album name:
- Using Search (Example): If you wanted an Album of all your blues songs, just follow these steps:
- Create a new Album (see steps above).
- Go to the Songs page and click Advanced Search.
- Select “Blues” in the Genre drop-down list.
- Leave everything else alone.
- Click Apply.
- All your blues songs are now displayed in the Songs window.
- Click Show Selection Mode, then click Select All on the right.
- Click Tag or Untag Albums and click your new Blues album in the display.
- Click OK.
- Returning to the Albums page, you will now see your Blues Album is displaying all the selected blues songs!
Rearranging Albums and Album Songs
Windows:
Instead of click-and-drag, SongwritersdB uses a new method to rearrange songs and albums that is faster and more flexible!
1. Click the box next to Album Rearrange Mode (to rearrange the order of Albums) or Song Rearrange Mode (to rearrange the order of Songs):

2. To move a single tile (Album or Song), left-click the tile. The tile will then show a large checkmark to indicate it has been selected. To select more tiles, simply left-click additional tiles (in any order).
3. Once you have selected all the tiles you wish to move, right-click on the tile where you wish to move the selected tile(s). (You can scroll down using the mouse wheel or the scroll bar.) They will immediately move, starting with the position of the tile on which you right-clicked.
4. When you are satisfied with the new arrangement of Albums or Songs, un-check the applicable Rearrange Mode box.
5. To see a video demonstration of this process, go to: https://www.youtube.com/watch?v=PA0xN65Vj7M
Mac:
Just use click-drag-drop to rearrange the sequence of Albums and songs within Albums.
Click on an Album or Song you wish to move up or down, move to the desired location, and release your mouse button.
Playing Album Songs
You will notice a Play button within an Album as well as within each associated song. If you have selected “Auto play songs” within the Play window, then the Play button within an Album will play all associated songs in order, until you press the square “Stop” icon. Alternatively, you can play any of the associated songs by pressing their individual Play buttons.
Adding Your Own Album Images (Pro+)
To add your own Album image, right-click [Windows] or click [Mac] on a generic album icon and select a .jpg or .png image file. You will find that a square image will look best in the existing format. Any change in image will be reflected in the Album images on the Home page (if it is one of the first six Albums in your list).
Displaying just an Album’s songs on the Songs page (Pro+)
Say you have collected a bunch of songs in an Album and want to add most of them to another Album, but with some changes/additions. Or say you want to make a backup of just the songs in that Album to send to someone.
It’s easy to do as follows:
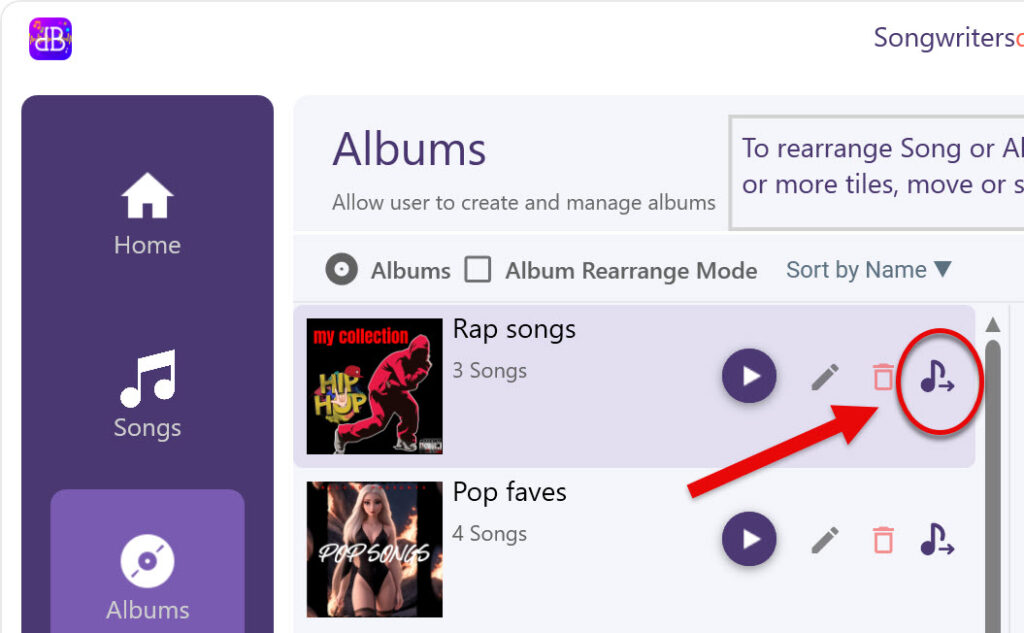
- Click the “Load Album Songs” icon next to the Album whose songs you wish to display on the Songs page.
2. Open the Songs page to view all the songs contained in the selected Album.
3. Create a new Album.
4. On the Songs page, click “Show Selection Mode,” “Select All,” then “Tag or Untag Album songs” to add whichever of the songs you wish to add to the new Album.
Alternatively, create a Backup of just these songs, so you can send the backup file to a friend, collaborator, or producer. If they have SWDB, they can import the backup and open it up to see all your selected songs, including their data (tags, comments, lyrics, song versions, etc.)